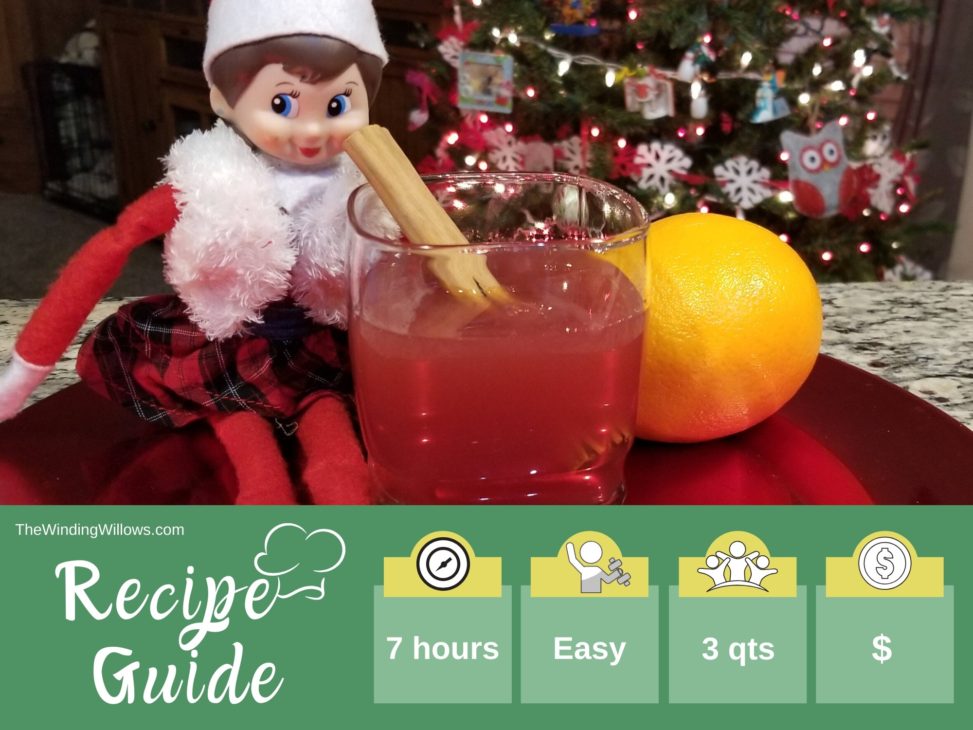
Yes, you can buy cranberry apple juice. And you can heat it to turn it into cider and add some mulling spices.
But when you can make it so easily, make your house smell divine, and enjoy the homemade experience, wouldn’t you?
This is the quintessential smell and taste of the holiday season. Homemade mulled cranberry apple cider is easy to make and a treat the whole family will love.

Best of all, it’s low effort and inexpensive. This non-alcoholic mulled cranberry apple cider is absolutely, 100% worth the little effort and money you put into it!
I’ve made a little family tradition in the last few years to make this recipe on the day after Thanksgiving when we decorate for Christmas.
There’s something particularly festive and cozy about starting apple cider going in the crockpot while you hang lights, stockings, and decorate the tree.
And as I just mentioned…
It makes the house smell AMAZING!
By the time you’re done decorating, your cider is almost ready to go. You can sit down and enjoy the fruits of your labors while watching the lights twinkle.
I make this in my Instapot because…well…when your 10-year-old stepdaughter is washing the crockpot for the first time, you should probably warn her it will break if it drops in the sink.
But I digress…
Here are the super simple steps to make easy homemade cranberry apple cider.

How to make fresh mulled cranberry apple cider
Gather your ingredients and instapot/crockpot/stockpot.
Step 1 – Put everything in the pot

Start with the fruit.
Peel and separate the orange slices of 1 orange.

Cut 3 lbs – approximately 10 medium apples – into quarters (or eighths). I like my apples cut smaller because I feel like it leaves more room in the pot. That could just be my imagination, though.
Add the cranberries.
Add the spices and sugar.
Adjust the sugar to your preferences. We like our cider to be more sweet, so I use 2 cups of sugar. You’ll want to reduce in proportion, though. For example, if you want to cut it in half, use 1/2 cup white and 1/2 cup brown sugar. You need the flavor from both types of sugar to make this cider awesome.


Add 10 cups of water.
Turn onto medium heat in a crockpot or instapot. If you’re cooking on the stovetop, turn the heat to low. You’ll have to stir it more often if you opt to go stove-top.
Cover loosely with the lid. It does not need to be sealed if using the instapot. As a matter of fact, you don’t want to seal it. You’ll miss out on the lovely scent.
Step 2 – Cook, mash, and sniff
This part is pretty easy. Just stir every hour.
At about 6 hours, or when the fruit is extremely soft, use a potato masher to mash the fruit.

It doesn’t need to be smooth. Just enough to let the juices escape from the fruit.
Let cook for another hour.
If it starts to smell ‘woody’, you can turn the temperature down. I don’t know how to explain the smell, but it’s almost a wood-like burnt smell. If you get to the point, you’re in danger of it tasting bitter.
I’ve tested this, so you shouldn’t have a problem, but just watch out for a change in the aroma.
Step 3 – Strain and Enjoy
You can spend as much or as little time on this step as you like.
I personally like to get us much ‘bang for my buck’ as I can, so I spend a lot of time straining everything.
But if you want to dump it all into a large colander and call it good, I can get behind that, too.
But let’s pretend you want to strain as much juice as possible.

Start with running everything through a large colander. This will get the big chunks out. Put these aside. You’ll come back to this in a second.
Run the juice that came out of the colander through a fine strainer. You should be left with an almost apple sauce type debris in the strainer. Discard.

Next, in cup-size increments, place the apple/cinnamon/orange/cranberry debris into a fine strainer. Use the back of a large spoon to push as much juice out as possible.
Discard the remaining fruit pieces. We give our to the chickens and they LOVE it!

Continue through the rest of the fruit.
You can keep it warm at this point, or put in the refrigerator to cool down. We like to drink our first batch warm.
Customization Options
There are SO MANY things you could do with this recipe. Add more or less fruit, more or less sugar, add in a little bit of vodka or rum for a seasonal cocktail.
We are currently experimenting with using it for my husband’s kombucha. We’ve got really high hopes for a new seasonal favorite!

Dietary Considartions
Overall, excepting the sugar, this recipe is pretty darn healthy.
It is:
- Dairy-free
- Gluten-free
- Yeast-free
- Nightshade-free
- Vegan
You could even experiment with using no sugar, but I haven’t tried it and I believe it would be somewhat bitter.
Serve warm, cold, or spiked and enjoy!

Recipe Card
Don’t forget it. Pin it!


I’ve read a few good stuff here. Certainly worth bookmarking for revisiting. I surprise how much effort you put to make such a great informative site.