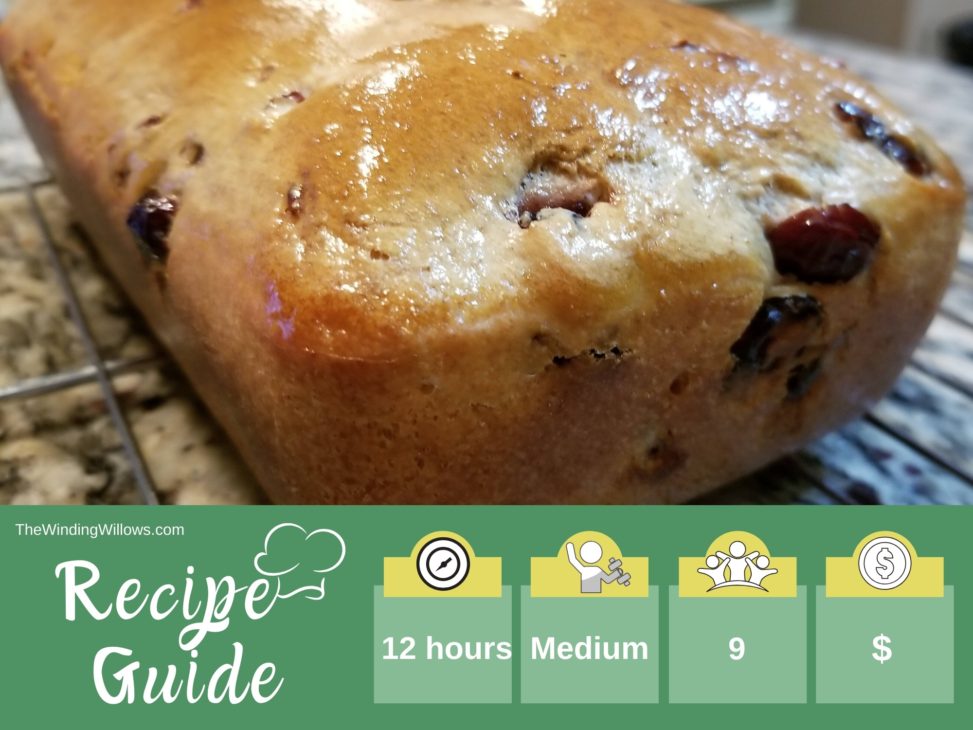
Sourdough – check. Cranberry – check. That’s not a long list, but it’s enough to know this bread is everything you want it to be. Slightly chewy crust. Soft center. Delicious cranberries. You can eat this cranberry sourdough bread as dessert or a perfect side to a holiday meal.
And listen, I know a lot of people put nuts in their cranberry bread. Walnuts, peacans, whatever. But that’s not what I’m about. Or my husband. And since this is our recipe, I’m leaving the nuts out!
As with most good sourdoughs, this one has a lot of ‘hurry up and wait’. You’ll mix it in two stages and both times require a resting period. But that’s where all the yummy flavor comes from.
Here’s the trick, though…
Mix it up before work one morning. As soon as you get home, mix the second step. Then wait for a few hours and bake.
You’ll end up with the perfect evening snack.
You DO NOT need a mixer for this bread, but if you have one you’ll save yourself about 5-10 minutes.
Ok, enough with the preliminaries. Here’s the steps to make the perfect cranberry sourdough bread!
(This post probably contains affiliate links. If you feel like falling asleep, feel free to read our full disclosure policy here)
How to make artisan cranberry sourdough bread
No need to preheat the oven at this point. You’ve got a lot of waiting to do. And keep in mind that the temperature of your kitchen and health of your sourdough starter will impact those wait times.
Stage 1 – A bit of pre-ferment

This stage is where a lot of flavor comes from. It’s also incredibly easy and will save time and energy when kneading the dough later.
It’s essentially a biga (defined as “a thick mixture of flour, water, and yeast that is allowed to ferment for some time before being combined with fresh dough to make bread, used especially in Italian baking.” Thanks to Google for this answer).
Don’t let the fancy terminology throw you off. You’re just giving your bread a head start so the flavor is richer in the final product.
For this, you mix 130 grams of starter, 130 grams of water, and 160 grams of regular flour.
Just give it a good stirring so the flour is mixed in.
Cover and let sit.
You’re going to let sit for at least 6 hours. Because there’s a larger percectage of flour in this step, you can let it sit longer if needed. Anything over 12 hours will probably need to be refrigerated.
If you decide to refrigerator, you can safely do so for up to 24 hours.
The dough won’t double in size, but you should notice it has ‘filled out’ nicely.

Stage 2 – Mixing ingredients together

After the waiting time is complete, either grab a mixing spoon or make sure your dough is in the bowl for your mixer.
Mix in everything but the last of the flour and the cranberries.
When everything is mixed, add the remaining flour.
Mix until the dough comes together and forms a loose ball. It will be extremely sticky at this point.
Add the cranberries. There is no need to soak dried cranberries before baking them in this recipe.
This is where your stand mixer will come in handy. If you have one, turn it on medium-high and let mix for 5 minutes. The dough will be fully formed and not sticking to the sides when it is complete.
For those without a stand mixer, you can mix by hand. You’ll want to oil your fingers because of the sticky-factor.
Work it until the dough is smooth and stretchy. About 10 minutes.
It will still be pretty sticky even when ready for the second rise.
This video shows the texture of the dough when it’s ready to go into the bread form.
Stage 3 – Waiting some more

Drizzle approximately 1 tsp of oil (I use avecado oil) into the bread pan. Spread around.
I love love love (yes….3 loves) our stone baking pans. We have a pizza stone, muffin stones, and loaf stones. You always get a consistent bake and the bottoms don’t burn. If you treat them good, they’ll treat you good.
Check the ones we have out here from Amazon.
Transfer the dough to the loaf pan. Make sure it’s laying evenly or it will be funny shaped when it’s done.
Cover and let rise on the counter.
This should take anywhere from 2-4 hours depending on the factors I’ve mentioned previously.
It is ready to bake when the dough has risen to the top of the loaf pan.
Stage 4 – Bake
Bake at 400 degree Fahrenheit for 35 minutes.
After the 35 minutes, turn oven off.
Remove bread and brush the top with butter.
Return the bread to the warm (but turned off) oven for an additional 5 minutes. This finishes it off very nicely and is a litle trick I use in a lot of my cooking/baking.

Place onto rack and let cool for at least 30 minutes before slicing into it.
Customization Options
There are a lot of variations of this bread that I will eventually make and post. But for now, we’re going with just cranberries in just sourdough.
Dietary Considerations
This recipe contains a number of allergins and possibly inflammatory ingredients.
Please do not eat if you have trouble with any of the follow:
- Dairy
- Gluten
- Sugar
- Yeast
On the plus side, there isn’t any nuts involved, so you’re good there!
Serve with butter or plain and enjoy!
Recipe Card
Don’t forget it. Pin it!


